Jazzed...Excited...Freaked Out...Stoked...Ecstatic...
All these describe how I feel today.
I have the HONOR of being the featured Guest Designer today for on of my favorite companies Authentique Paper.
If you are a follower of scrap companies, you know that Authentique has only been around a few years, but has really made a SPLASH in a short time. Their patterns and colors are versatile, while the texture and weight of their paper makes them VERY easy to work with and do all types of crafts. Their stickers sheets (they call them "details") comes with words, alphas and every kind of embellishing sticker combo you would ever need!
For this guest spot, I was sent their "Thrilling" Collection. Full of a variety of oranges and vintage images, it was a lot of fun to play with.
Here are a few more pics that didn't make it into the post and a quickie tutorial!
First UP...
My "Thrilling" Shadow box
The "shadowbox" is actually a fake. It's just a chunky 12 x 12 canvas, turned backwards!
Everything else is just paper, glue and Authentique Details Stickers.
Here is a couple of new closeups!
NEXT...
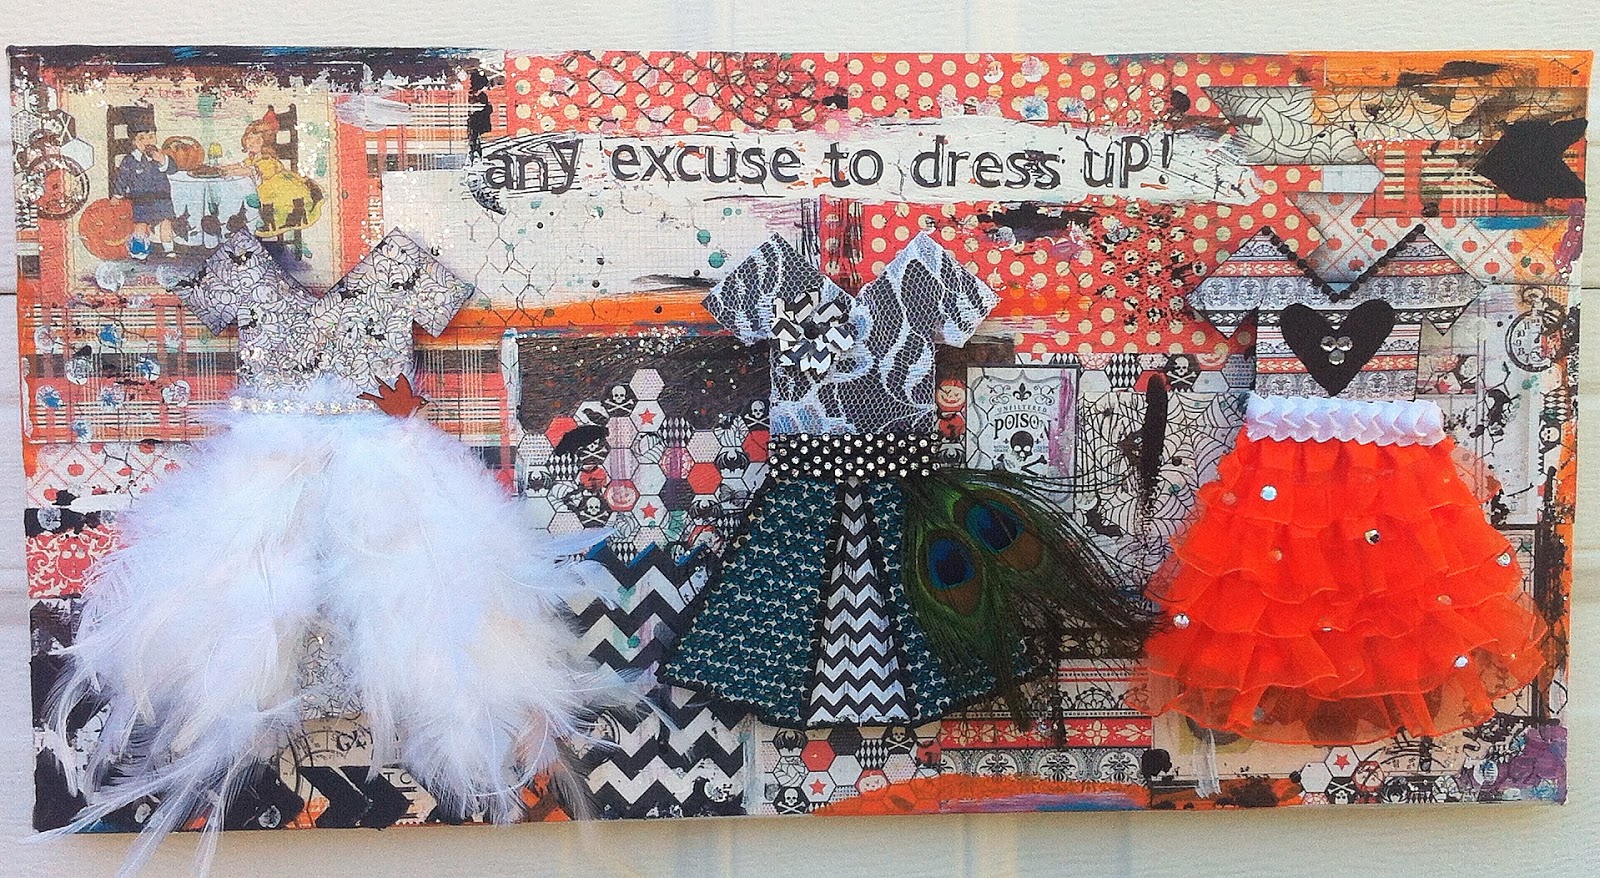
"Any Excuse to Dress Up" Mixed Media Canvas
I really wanted to do one piece that was just crazy and fun.
I started out by making a 5 Origami Dresses from the Authentique 6 x 6 pad from the "Thrilling" Collection.
My original idea was a little different, but when I decided on this 20 x 10 canvas from Hobby Lobby, I decided to narrow my dresses to just 3.
Here is where I found my tutorial for my dress:
Origami Dress Tutorial. It was my favorite out of all the ones I checked out.
A little tip here...during the step where you are folding up to make the bodice, flip the project over to make sure your bodice is all enough for your project. Mine was not and I actually cut the tops off my origami dress and hand-cut new ones. Took some time...don't make my mistake! LOL.
All of the dresses are set on a stack of corrugated cardboard scraps to give them height off the canvas.
Here is a close-up of all three dresses:
It's hard to tell in picture, but for the Peacock Dress, all the turquoise you see on the skirt is bling that I bought at Hobby Lobby. The fact that it came in long "sheets" of 10 x 60 helped fill the skirt in pretty fast.
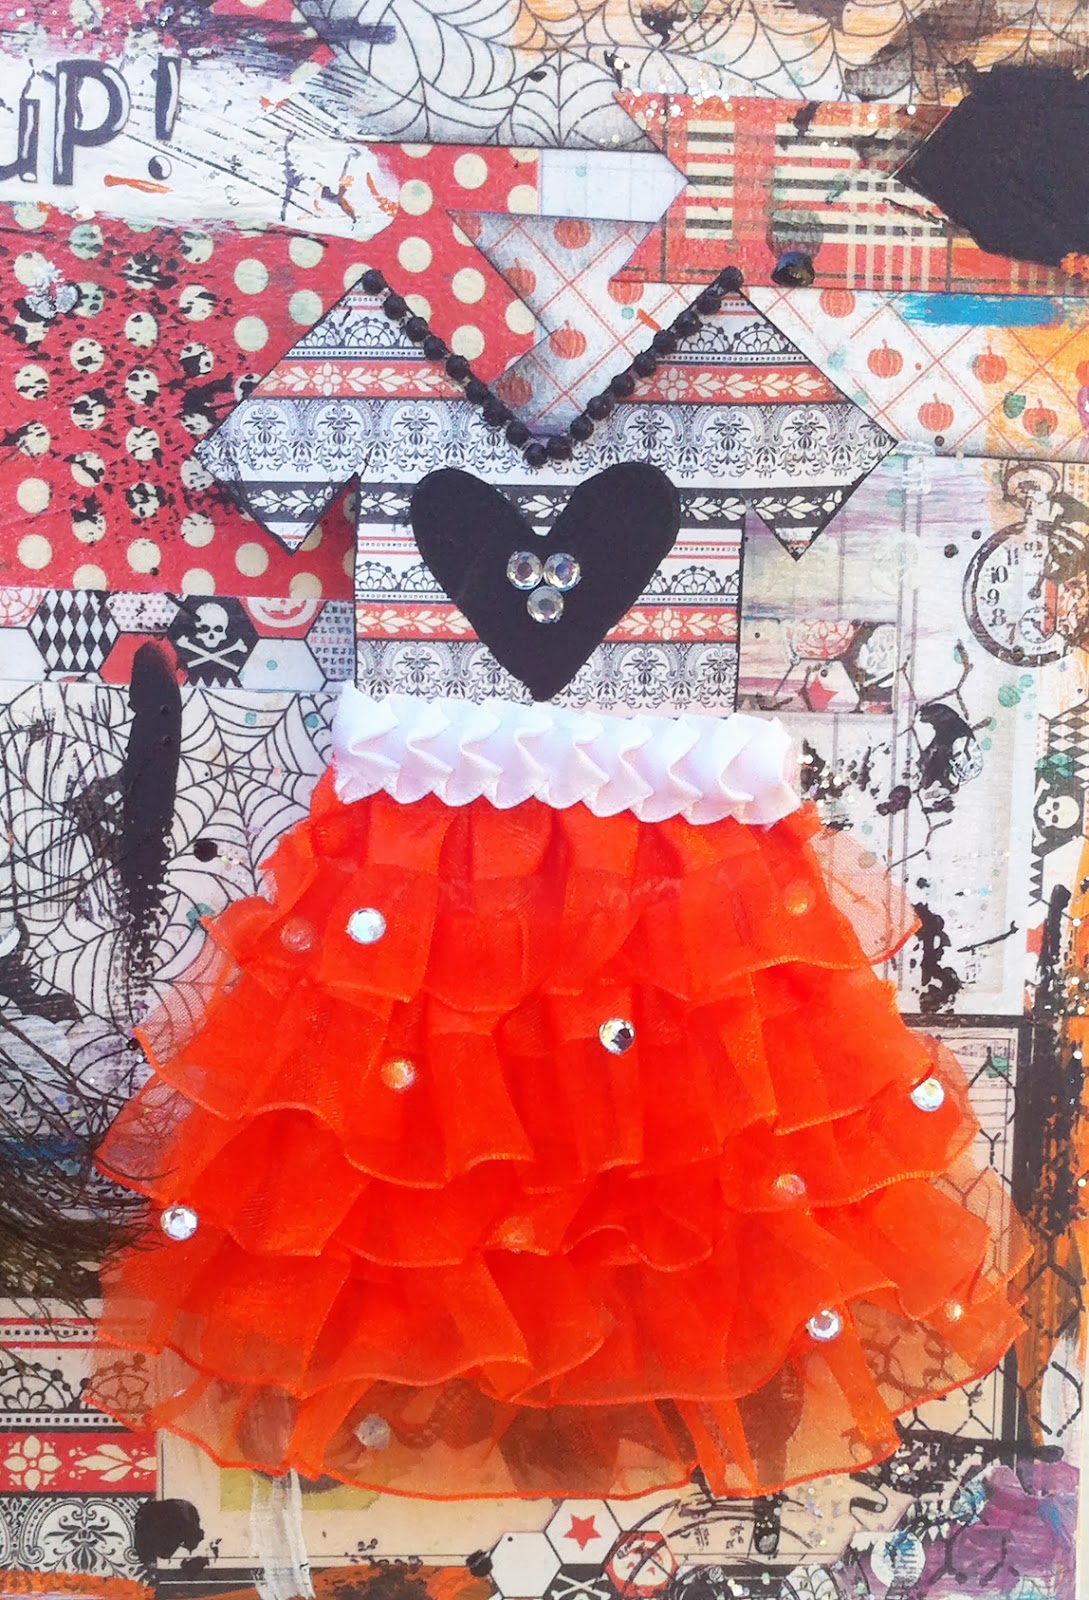
This skirt is made of layered ruffle ribbon, loose bling and some additional ribbon. The heart on the shirt was made with Modeling Paste and a Heidi Swapp Stencil.
This is my favorite! Think: Couture Bride of Frankenstein. She's got her pats and spiderweb's that are covered in glitter glue, tons of loose feathers make up her skirt, along with a "diamond" waistband and orange birdie for good luck.
For the background, I Modged Podged paper from the "Thrilling" Collection, before splattering and painting it up with glitter glue, acrylic paint, Tattered Angels and Modeling Paste colored Black through a Heidi Swapp Stencil.
Lastly....
"Monsters in the Trees"
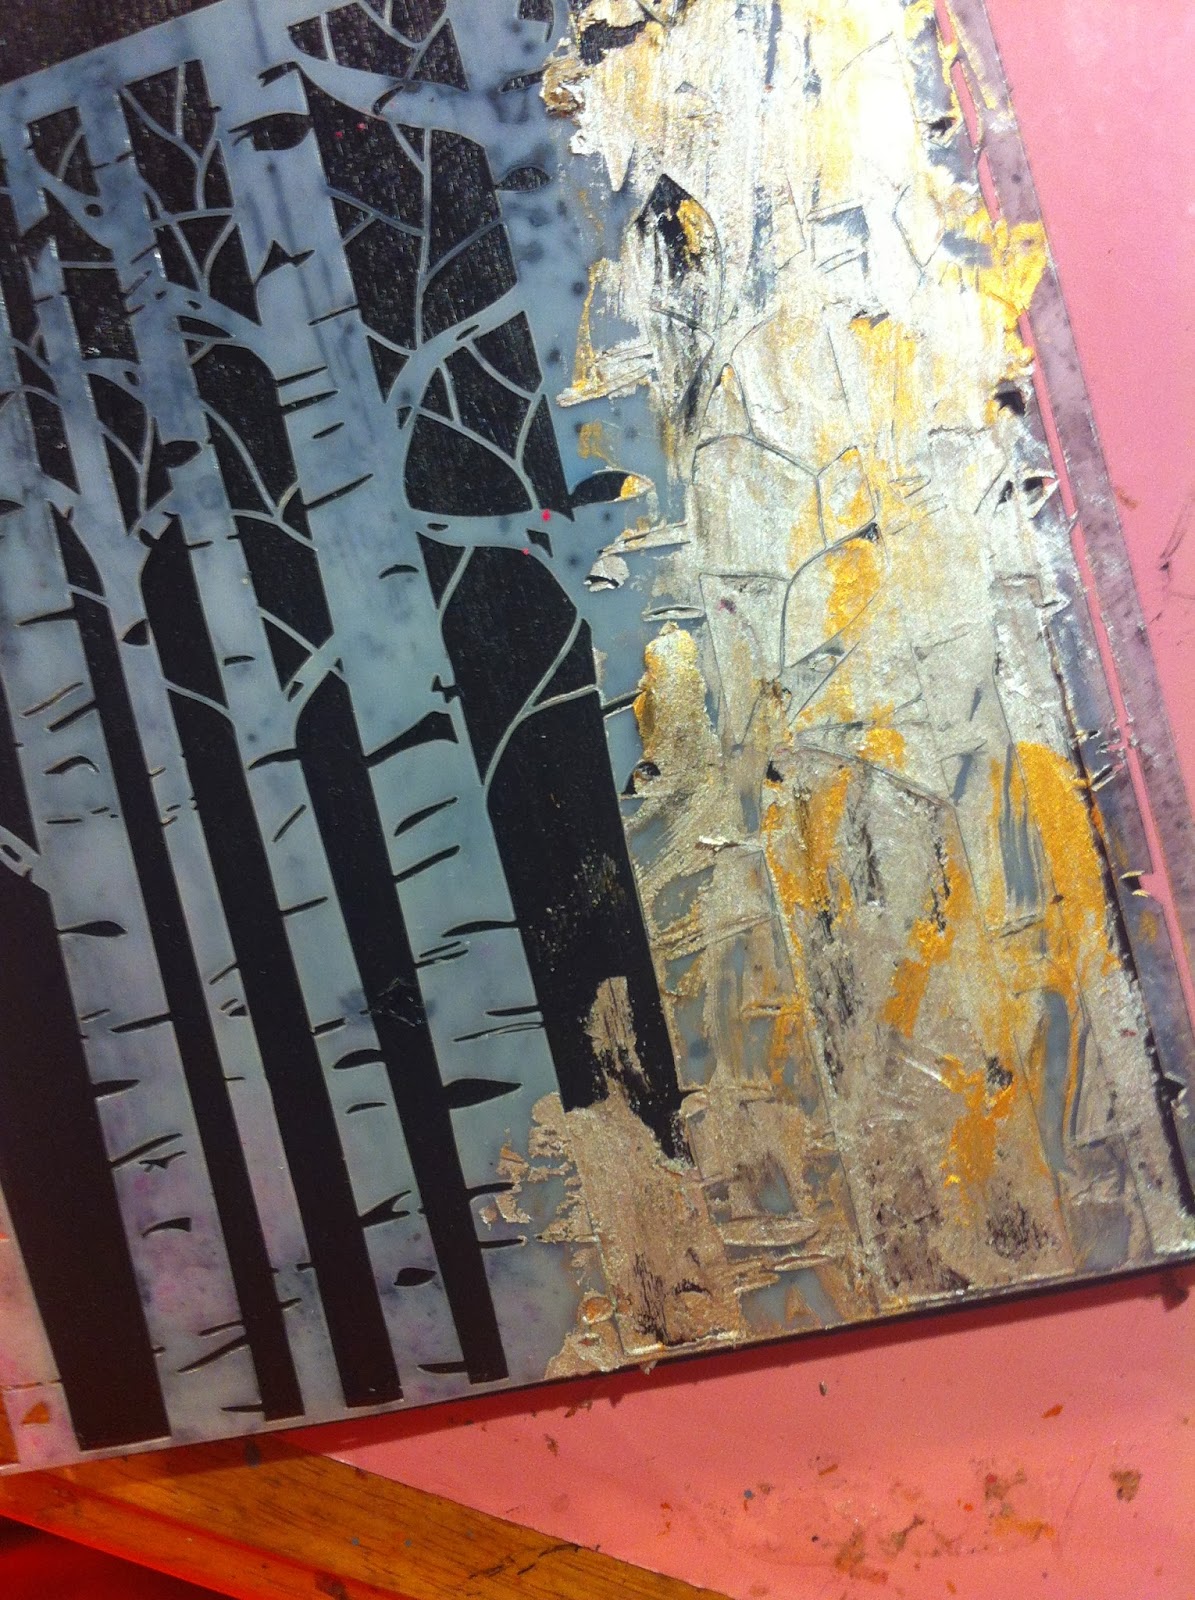
Here is a quick tutorial on how to make this background:
1) First...paint you wooden piece with acrylic paint. I actually added a little gloss medium to my 2nd and 3rd layers because I decided I wanted more gloss. You can see the difference in the finishes:
2) I used a Forrest Stencil from Crafter's Workshop (it's one of my favorites!) The size is 6x6, so it was perfect for my 5x7 piece.
3) The medium I used for my background is Viva Inka Gold in Gold and Silver.
4) Starting with my silver, I used a putty knife to draw my rub over my stencil. I would then occasionally grabbing a little of the gold as well. Continue this process until you have covered your whole stencil.
5) Carefully remove your stencil and your done! Inka Gold is very good for this technique because it is so thick that it doesn't seep under your stencil. As you can see, all of the edges are very crisp.
I didn't go all the way to the top because I knew I was planning a big collage of elements up there. Once my elements were in, however, you'll see that I went back in at the very top and added a little bit more with my stencil. It made the piece more "finished."
It has been "Thrilling" being a guest designer for Authentique Paper and hope I get to do it again sometime.
Until next time...stay creative!
XOXO,
KERI