Hello Lifers!
It's time for a little Mixed Media on Monday! Are you ready?!
Today, we are going to be working on something that is a little new for me...art journaling!
I have this Pinterest Board called WORD , where I pin all of these great sayings and quotes and then...what? They just sit there, occasionally pinned by others, but I never really look at them again.
So...using my One Little Word for 2014...I am CHOOSING to use them by putting them into an art journal where they are a little more accessible and so I can take time to really think about them and absorb them while I work on my art journal.
Here is my first!

Here's a few pointers on how I made this page.
BACKGROUND
My background is actually very simple. When I was gelli plating some paper to use for my words and my bird (I'll explain that technique in a minute), the brayer I used was covered in paint, so I simply rolled the extra pain on to my page.
To get my black chevron pattern, I used Frog Tape in their Chevron Pattern in stripes across my page. I then lightly dry brushed black acrylic paint over the entire surface.
This is what it looks like as you're peeling it up. I LOVE the crisp lines FROG Tape gives you! (And yes...those are Mickey House PJ pants! LOL!)
BACKGROUND TEXTURE
To add texture to my background, I did a couple of things:
1) I used acrylic paint on some of my rubber stamps instead of ink. I feel like it gave it a little more bold and solid appearance.


The gold is a little harder to see in the pictures, but it adds some nice detail.

You can also see that I added some stamps using Ranger's Archival Ink because it is permanent and a strong black. All of the stamps I used for this project are designed by Susan K. Weckesser for Unity Stamp Co.. They include: A little bit of Washi, Celebrate your Day, Splatter and In Circle Me.
2) Next I stamped a vine using white acrylic paint and a Claudine Hellmuth foam stamp called "Nature" (the bird from that set is used on this page too!)

I felt like it was a little flat, so I added a little gold to the top of the leaves and some black to the bottom.

3) Lastly, using a Hobby Lobby Stencil and Tim Holtz Distress ink in Salty Ocean, I added random blue circle all over.
BIRD AND WORDS
For my bird and my words, I used the same technique. It's similar to the technique called "gelli plating" but since I don't have a gelli plate (which is an actual brand and a technique) a friend of mine at Alumilite (which specializes in casting resin products) made me a fantastic on out of their Amazing Mold Rubber. The great thing about making your own from mold rubber is that you can use it for this technique as well as a surface for doing resin work!
Here is my completed "gelli" print.
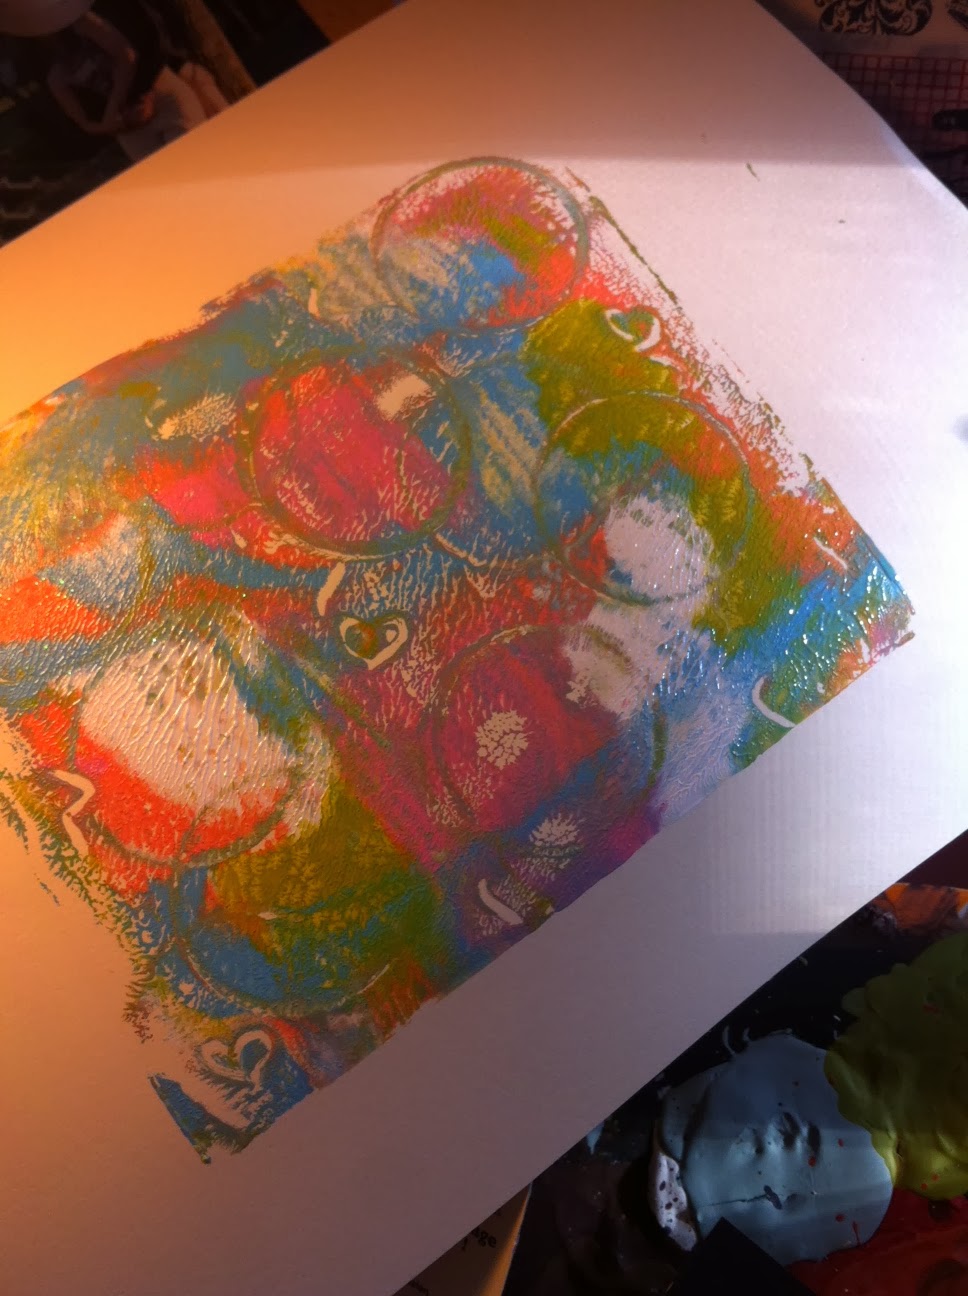
This is easily obtained in a few steps:
1) Add small drops of paint to your rubber/gelli plate.
2) Run a brayer over the entire surface to smooth surface out, but not blend colors. (Remember out background? The extra paint on this step becomes the foundation for this whole project!)
3) Use random things to make impressions in your paint (lids for circles, buttons, gems.) I also used the end of a paint brush to make little hearts.
4) Place your paper over your plate and lightly brayer over the back. Keep it light or you will lose the texture you added with you found objects.
5) Carefully peal it up and let it dry!
For my bird, I knew I wanted just an out line, so I painted just the outline of my bird stamp with acrylic paint and stamped on to my dry gelli print.


My words were hand painted on another gelli print and then cut and adhered.

I hope you enjoyed this art journaling piece. I really enjoyed making it!
Until next time...remember friends...Chose to make your art intentional...not an after thought.
XOXO,
KERI
No comments:
Post a Comment